Prepare your workspace
To get started, you first need to prepare a working environment with some starter code for the election application website that you'll be building. In this tutorial, you'll complete the following tasks:
- Clone the project repository.
- Explore the initial state of the project structure.
- Install the dependencies for the application frontend.
- Explore the functionality of the frontend as a standalone application with data stored in memory.
Before you begin
Before you start this tutorial, verify the following basic requirements:
- You have an internet connection and a web browser installed on your local computer.
- You have a code editor, such as Visual Studio Code, access to an interactive terminal shell, and are generally familiar with using command-line programs.
- You have Git installed and are generally familiar with using
gitcommands. - You have Node.js and npm installed on your local computer.
- You have Pact and the Pact language server plugin installed on your local computer.
Clone the project repository
The first step in setting up the development environment for the workshop is to copy the project repository you'll be working with.
To clone the project repository:
-
Open a terminal shell on your computer.
-
Clone the project repository by running the following command:
git clone git@github.com:kadena-community/voting-dapp.git election-workshop -
Change to the root of the project directory by running the following command:
cd election-workshop -
Switch to the branch that contains the starter code for the workshop by running the following command:
git checkout 01-getting-started
Open the project in a code editor
In most cases, you'll want to work with the project files using an integrated development environment (IDE) such as Visual Studio Code.
If you use Visual Studio Code, you can also use the Kadena Pact language server extension to enable syntax highlighting, error reporting, and code coverage details to improve your smart contract development workflow.
To use the Visual Studio Code extension, you must have pact and pact-lsp installed on your local computer.
You can configure the path to each executable in the Pact extension settings.
If you use a different code editor, you might also benefit from having the pact-lsp executable installed to provide syntax highlighting for Pact code.
To use the Pact extension in Visual Studio Code:
-
Download and install Pact.
For example, you can install Pact on macOS using Homebrew:
brew install kadena-io/pact/pact -
Download and install the Pact Language Server plugin.
-
Open the
election-workshopfolder in Visual Studio Code.By default, you should see the following project folders in the Explorer:
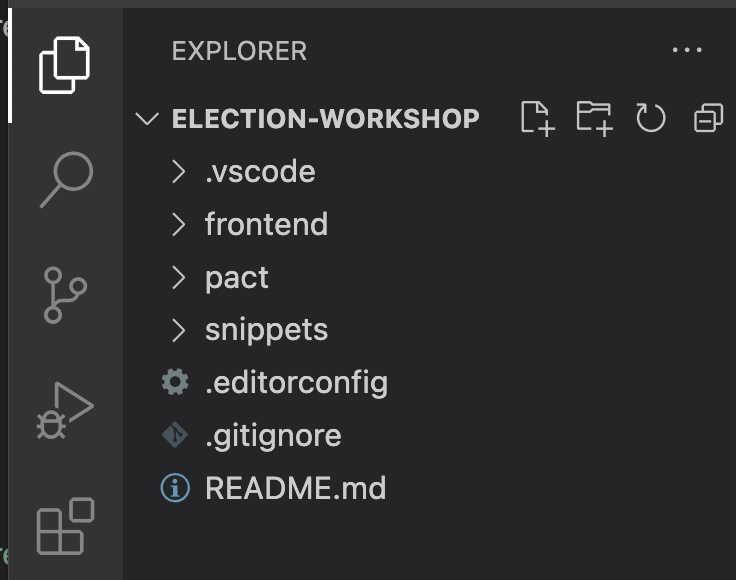
These folders contain everything you need to build the election website project:
-
The
frontendfolder contains the files that enable users to interact with the election application website. For this tutorial, the user interface for the website is built with TypeScript and React components, but you could use any framework you're familiar with to create the frontend. The frontend for the application connects to the blockchain through the Kadena client library. The Kadena client library is annpmpackage that you can import into any JavaScript project to simplify making API calls to the blockchain. You'll get a closer look at the frontend components in Explore the frontend application. -
The
pactfolder where you'll find smart contract modules in.pactfiles. You'll see that thepact/rootfolder already contains some.pactfiles. These files provide some core functionality you'll need in testing the smart contracts you create. You'll also use thepactdirectory to hold the files you create to test smart contract functions using.replfiles. -
The
snippetsfolder contains scripts that use the Kadena client library to perform actions against the blockchain that aren't directly related to the functionality of the election application. For example, files in thesnippetsfolder support deploying and upgrading smart contracts, creating and funding accounts, and transferring funds between accounts. You'll learn more about the scripts in thesnippetsfolder in later tutorials.
-
-
In the Visual Studio Code editor, select View, then click Extensions.
-
Type Pact to search for Pact extensions, select PactLang from the search results, then click Install.
You can also install the Pact Snippets extension. The Pact Snippets extension provides a collection of code templates for common operations.
After you install the extensions, close the extensions page and click Explorer to return to your project folder.
Explore the frontend application
It might seem counter-intuitive to start building a smart contract application by exploring a frontend that isn't connected to a blockchain. However, by exploring the application before you start building, you'll have better context for the work you're about to do.
If you expand the frontend folder, you'll see that it includes a repositories folder.
Within that folder, there's a candidate repository and a vote repository.
Each repository has two implementations: an InMemory implementation and a Devnet implementation.
Initially, the frontend for the election website uses React components that are not connected to a blockchain backend. Instead, the project is configured to use the in-memory implementation of the repositories. With this implementation, all data operations requested by interacting with the website frontend are served using JavaScript arrays and objects that are defined in an in-memory backend file.
The in-memory implementation allows you to explore the basic data flow as a frame of reference before you start building the blockchain implementation.
To explore the election application website frontend:
-
Open a terminal shell on your computer.
-
Verify that you are in the
election-workshopdirectory and have checked out the 01-getting-started branch by running the following commands:pwd
git branch -
Change to the
frontenddirectory by running the following command:cd frontend -
Install frontend dependencies by running the following command:
npm install -
Start the application locally by running the following command:
npm run start -
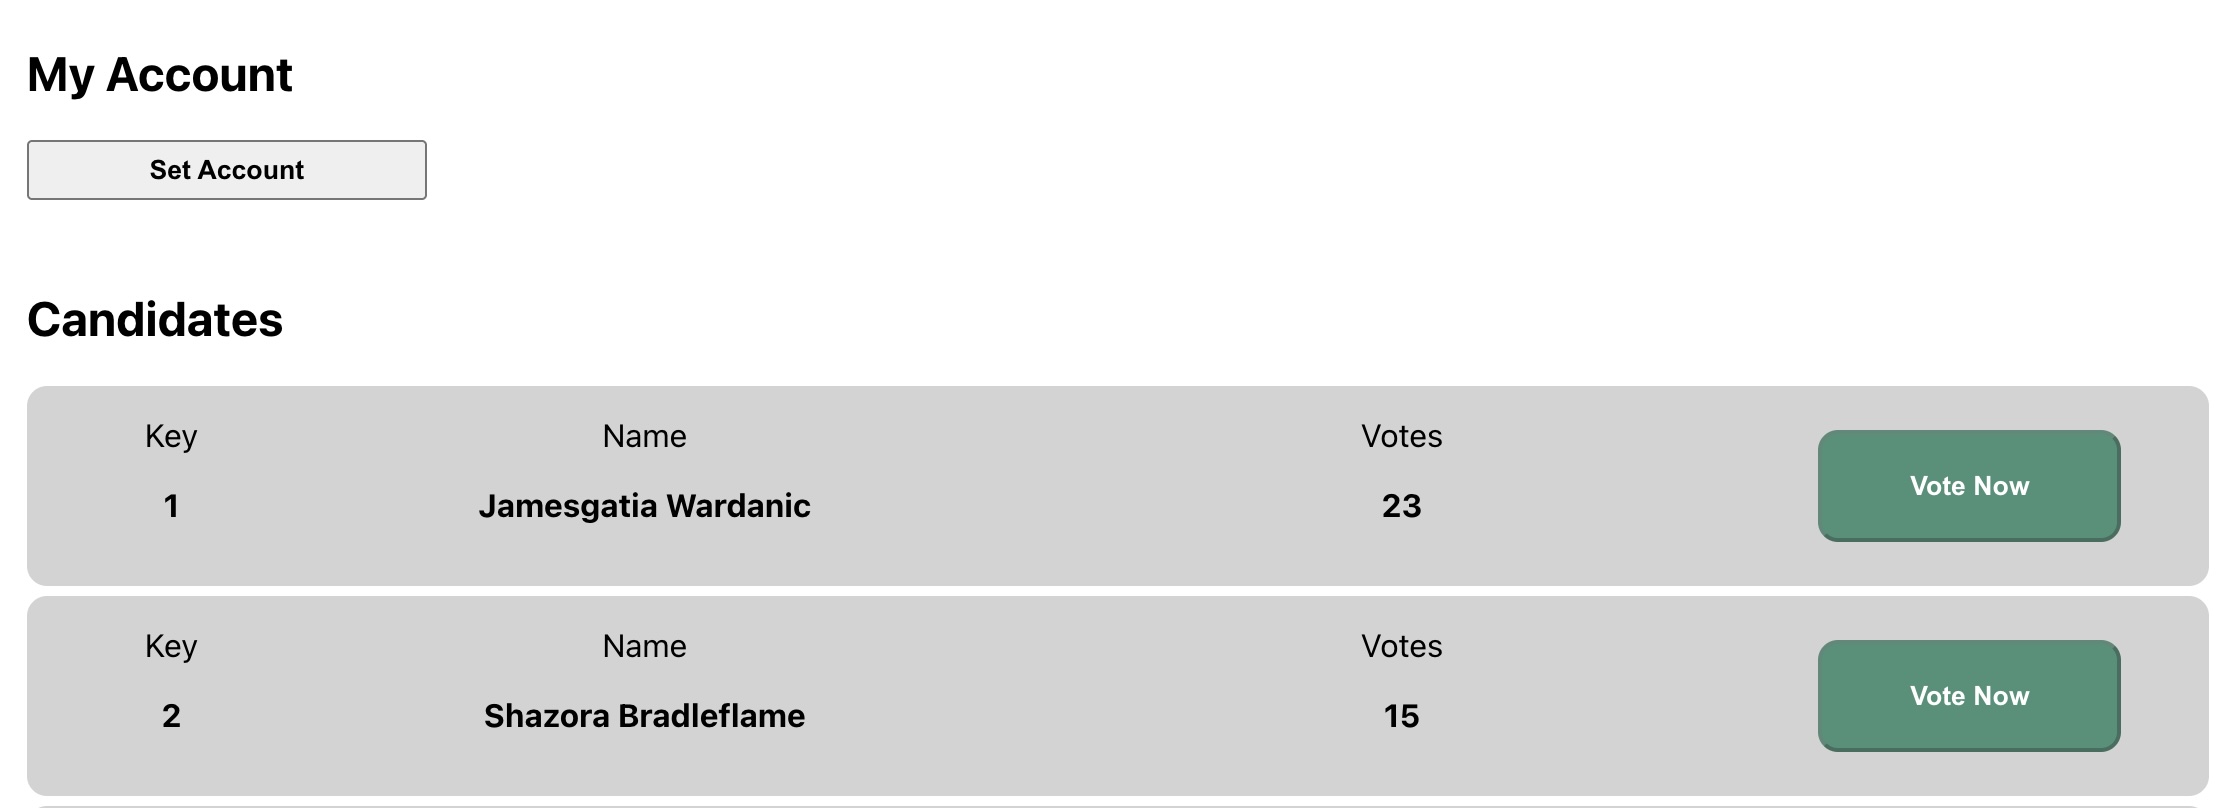
Open a browser and navigate to the URL
http://localhost:5173.The website displays a list of candidates and the number of votes each candidate has received. If you have a Kadena single-key account—that is, a public key with the k: prefix—you can click Set Account to vote for an existing candidate or add a new candidate.
The application only allows you to cast one vote per account. At this point, no specific permissions are required to perform any operation.
Because all data is manipulated in memory, the state of the frontend is reset as soon as you refresh the page. No changes you make to the application—to set your account, cast a vote, or add a candidate—are saved.
Next steps
At this point, you have prepared a basic development environment and have explored the project directory structure. You've also had your first look at the frontend for the election website and explored its main features.
In the next tutorial, you'll start a development network on your local computer inside of a Docker container. The development network is a local blockchain similar to the Kadena test network where you can experiment with different features in an isolated environment. After you get the development network running, you'll be ready to start developing smart contracts to connect the election application to the blockchain backend.