Start a local blockchain
In this workshop, you are going to implement the backend of the election website using smart contracts on the Kadena blockchain. The smart contract you'll be writing for the election application defines rules for:
- Nominating candidates.
- Casting and counting votes.
- Storing the nominated candidates and the votes for each candidate.
Before you publish any smart contract on a public network, like the Kadena test network or the Kadena main network, you should always test that the contract works as expected on your local computer. In this tutorial, you'll set up a local development network to run a blockchain inside of a Docker container on your local computer. You can use this development network to test your smart contracts and experiment with code in an isolated environment that you can reset to a clean state at any time.
Before you begin
Before you start this tutorial, verify the following basic requirements:
- You have an internet connection and a web browser installed on your local computer.
- You have a code editor, such as Visual Studio Code, access to an interactive terminal shell, and are generally familiar with using command-line programs.
- You have cloned the voting-dapp repository to create your project directory as described in Prepare your workspace and have checked out the
01-getting-startedbranch. - You have Docker installed and are generally familiar with using Docker commands for containerized applications.
Run the development network in Docker
The Kadena development network is a fully functional Kadena blockchain network that runs inside of a Docker application container. For this tutorial, you'll want to start the blockchain with a clean slate every time you stop and restart the container. Because you don't need to maintain the state of the local blockchain between restarts, you can start the container without creating a persistent volume.
To start the local development network:
-
Open a terminal shell on your computer.
-
Start the Docker service if it isn't configured to start automatically in your local environment.
You can run the
docker infocommand to check whether Docker is currently running. -
Pull the latest image and start the
devnetcontainer without a persistent volume by running the following command:docker run --interactive --tty --publish 8080:8080 kadena/devnet:latestYou can stop the network at any time—and reset the blockchain state—by pressing Ctrl-c in the terminal. After you stop the network, restart it using the previous command or one of the commands that follow.
If you encounter an error where the version of Chainweb is invalid after a certain date (typically after a service update), run the following command to pull the latest version:
docker run --pull=always --interactive --tty --publish 8080:8080 kadena/devnet:latestIf you can't run the Pact executable on your local computer, you can mount the
./pactfolder in the Docker container by running the following command:docker run --interactive --tty \
--publish 8080:8080 \
--volume ./pact:/pact-cli:ro \
kadena/devnet:latestIf you mount the
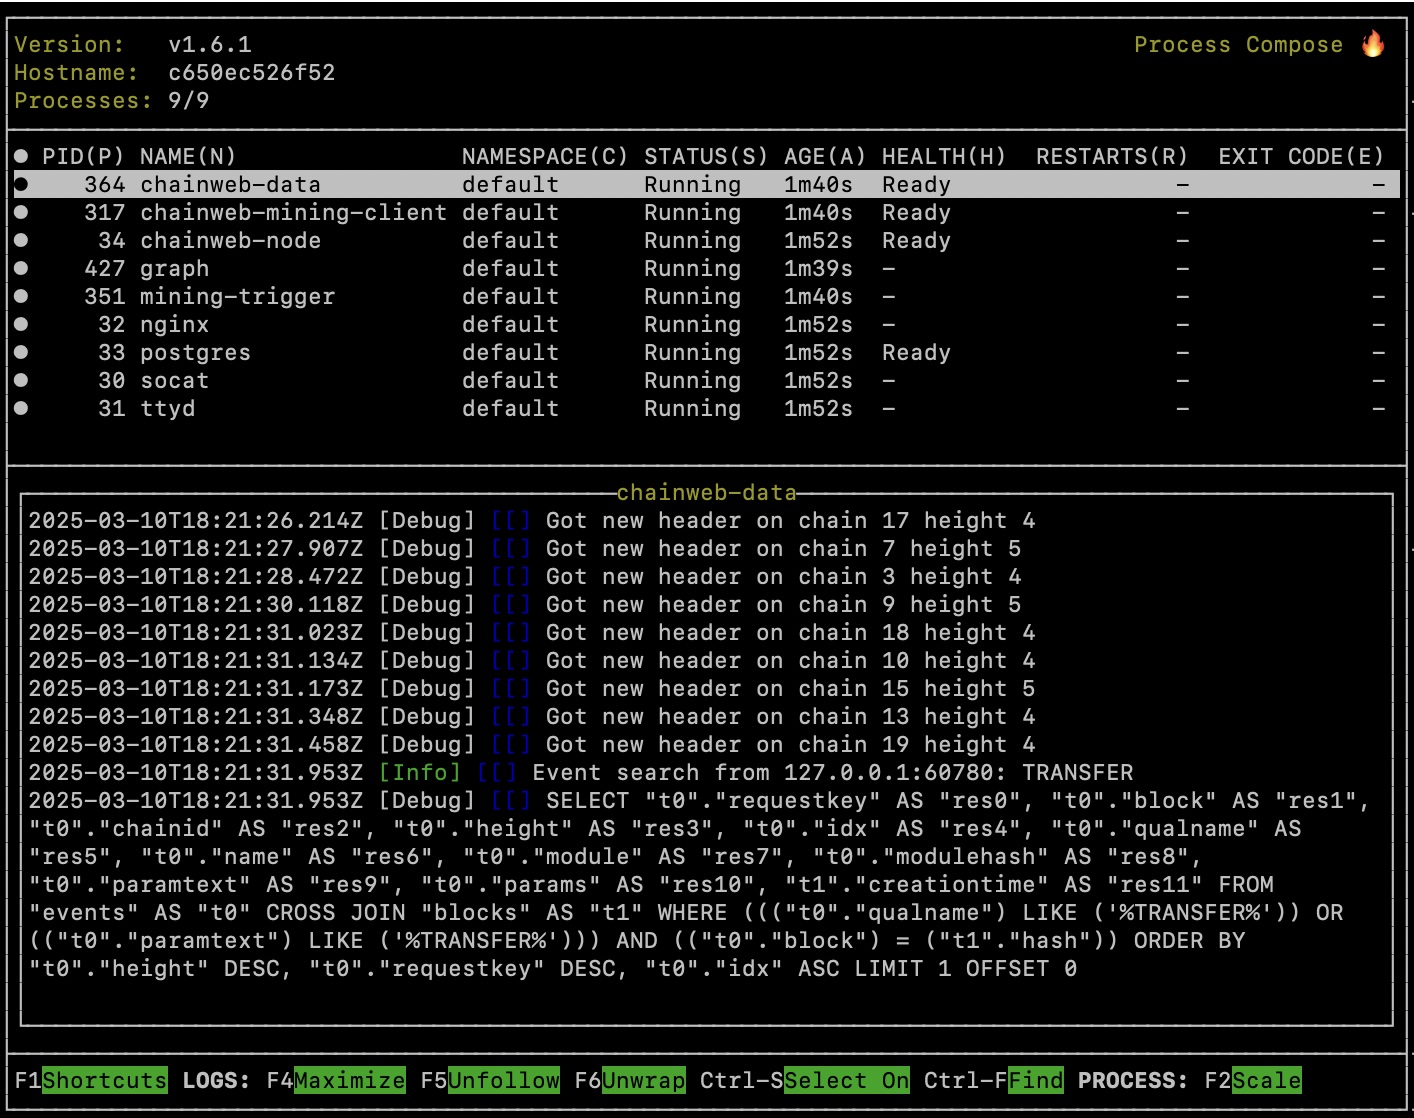
pactfolder in the Docker container, you can executepactcommands using an interactivepact>shell in your browser at http://localhost:8080/ttyd/pact-cli/.After you start the development network, you'll see information about the network processes displayed in a terminal console.
Create an account
As you might have seen in Create new accounts, there are several ways to create Kadena accounts, including Kadena command-line interface commands. You can also create accounts using wallet applications like Kadena SpireKey and Chainweaver. Wallet applications often make interacting with blockchain networks, accounts, and keys easier.
You must have at least one account on the development network to complete the election workshop.
If you have public and private keys for testing, you can add them to the development environment using the kadena account add command.
If you don't already have an account, you can create one using the Chainweaver desktop application, the Chainweaver web application, or kadena-cli commands.
To create an account using kadena-cli commands:
-
Open a terminal shell on your computer.
-
Install the
kadena-clilibrary by running the following command:npm install --global @kadena/kadena-cli -
Initialize the development environment with a configuration folder, wallet, and account by running the following command
kadena config initThis command creates the
.kadenaconfiguration folder in your current working directory, adds default network settings to anetworkssubfolder, and prompts you to create a wallet. -
Follow the prompts displayed to create a wallet and an account public and private key pair for the development network.
After you provide the required information, you should see details about the new account similar to the following:
====================================================
== 🚨 IMPORTANT: Mnemonic Phrase 🚨 ==
====================================================
Mnemonic Phrase:
prize select sad post topic install found spend cable feature nest room

Please store the mnemonic phrase in a SAFE and SECURE place.
This phrase is the KEY to recover your wallet. Losing it means losing access to your assets.

====================================================

First keypair generated
publicKey: e1ea3b130881ec420badfde86ba518751d4c575874399452aa7aed476807d68c

Wallet Storage Location
.kadena/wallets/pistolas-dev.yaml

Account created
accountName: k:e1ea3b130881ec420badfde86ba518751d4c575874399452aa7aed476807d68c

Account Storage Location
.kadena/accounts/pistolas-dev.yaml
Be sure to copy and store the mnemonic phrase in a safe place. This 12-word secret phrase is required if you ever need to recover your wallet.
Connect to the development network
You now have a local wallet with the basic account information required to sign transactions: a public key, an account name, and a predicate. However, the local account isn't yet associated with any network or chain identifiers. Before you can use an account to transfer assets and sign the most common types of transactions, it must exist on a network and have funds on one or more chains.
For the workshop, you'll connect the local account to the development network, but you could follow similar steps to make it available on the Kadena test network or the Kadena main production network.
To add funds on the development network using kadena-cli commands:
-
Verify that the development network is currently running.
-
Open a terminal shell on your computer.
-
Fund the first account you created for the wallet by running the
kadena account fundcommand and following the prompts displayed.For example:
kadena account fund
? Select an account (alias - account name): pistolas-dev - k:a6731c....93119689
? Select a network: devnet
? Enter a ChainId (0-19) (comma or hyphen separated e.g 0,1,2 or 1-5 or all): 3
? Enter an amount: 14
Success with Warnings:
Account "k:a6731ce787ece3941fcf28ce6ccf58150b55a23310e242f4bcb0498c93119689" does not exist on Chain ID(s) 3. So the account will be created on these Chain ID(s).

Transaction explorer URL for
Chain ID "3" : http://localhost:8080/explorer/development/tx/n99505XeBZURcHtPHGQESEiEmbv_ZjSF4uXCCbZLzKA
✔ Funding account successful.

Account "k:a6731ce787ece3941fcf28ce6ccf58150b55a23310e242f4bcb0498c93119689" funded with 14 coin(s) on Chain ID(s) "3" in development network.
Use "kadena account details" command to check the balance.

Executed:
kadena account fund --account="pistolas-dev" --network="devnet" --chain-ids="3" --amount="14"
Verify the account
To verify the account on the development network using kadena-cli commands:
-
Verify that the development network is currently running.
-
Open a terminal shell on your computer.
-
Verify the account is funded on the development network by running the kadena account details command and following the prompts displayed:
For example:
kadena account details
? Select an account (alias - account name): pistolas-dev - k:a6731c....93119689
? Select a network: devnet
? Enter a ChainId (0-19) (comma or hyphen separated e.g 0,1,2 or 1-5 or all): 3
Details of account "pistolas-dev" on network "development"
Name                             ChainID Public Keys                   Predicate Balance
k:a6731ce787ec....b0498c93119689 3       a6731ce787ec...b0498c93119689 keys-all  14

Executed:
kadena account details --account="pistolas-dev" --network="devnet" --chain-ids="3"
Next steps
At this point, you have a functioning Kadena blockchain development network running on your local computer. In this tutorial, you learned:
- How to start and stop a development network running in a Docker container on your local computer.
- How to create a local wallet and account using
kadena-clicommands. - How to fund an account on the development network using
kadena-clicommands. - How to verify account details for an account on the development network using
kadena-clicommands.
In the next tutorial, you'll learn more about accounts and how to control who is allowed to perform different tasks on the development network.