Set up a development network
Computers that run the Chainweb network software—the chainweb-node program—are a crucial component of the Kadena blockchain.
Nodes provide the compute, storage, and network resources that enable the Kadena blockchain to be secure and decentralized.
Nodes also provide the engine for transaction processing, data verification, and executing smart contract functions.
Because of the role they play in receiving and processing transactions, it's important to include at least one standalone node as part of your development environment.
In most cases, you can run a single node to establish a local development network that you can then use to test smart contract operations in an isolated and controlled environment before deploying to a public test or production network.
There are two primary ways you can set up a local development network that includes the chainweb-node program:
- You can download a complete local development network that includes the
chainweb-nodeprogram, a local block explorer, the Pact interpreter that runs in a browser, and other tools. With this option, you can use a default set of tools and configuration settings from a Docker image to run the development network inside of a Docker container. For instructions, see Start the development network. - You can download and run the
chainweb-nodeprogram as a standalone release binary from its GitHub repository. With this option, you can manually select the tools and configuration settings you want the node to use. For instructions, see Install a standalone node or chainweb-node.
Start the development network
If you have Docker installed, the simplest way to get a local node running is to download the latest Docker image for the Kadena development network. The development network in the Docker image includes access to additional tools and installs the most commonly-used contracts by default.
To run a chainweb-node instance in a Docker container:
-
Open a terminal shell on your computer.
-
Start the Docker service if it isn't configured to start automatically in your local environment.
You can run the
docker infocommand to check whether Docker is currently running. -
Create a new Docker volume by running the following command:
docker volume create kadena_devnet -
Pull the
kadena_devnetvolume image and start thedevnetcontainer by running the following command:docker run --interactive --tty --publish 8080:8080 --volume kadena_devnet:/data --name devnet kadena/devnetWait for the image to be downloaded to your local environment.
-
Start the local development network by running the following command:
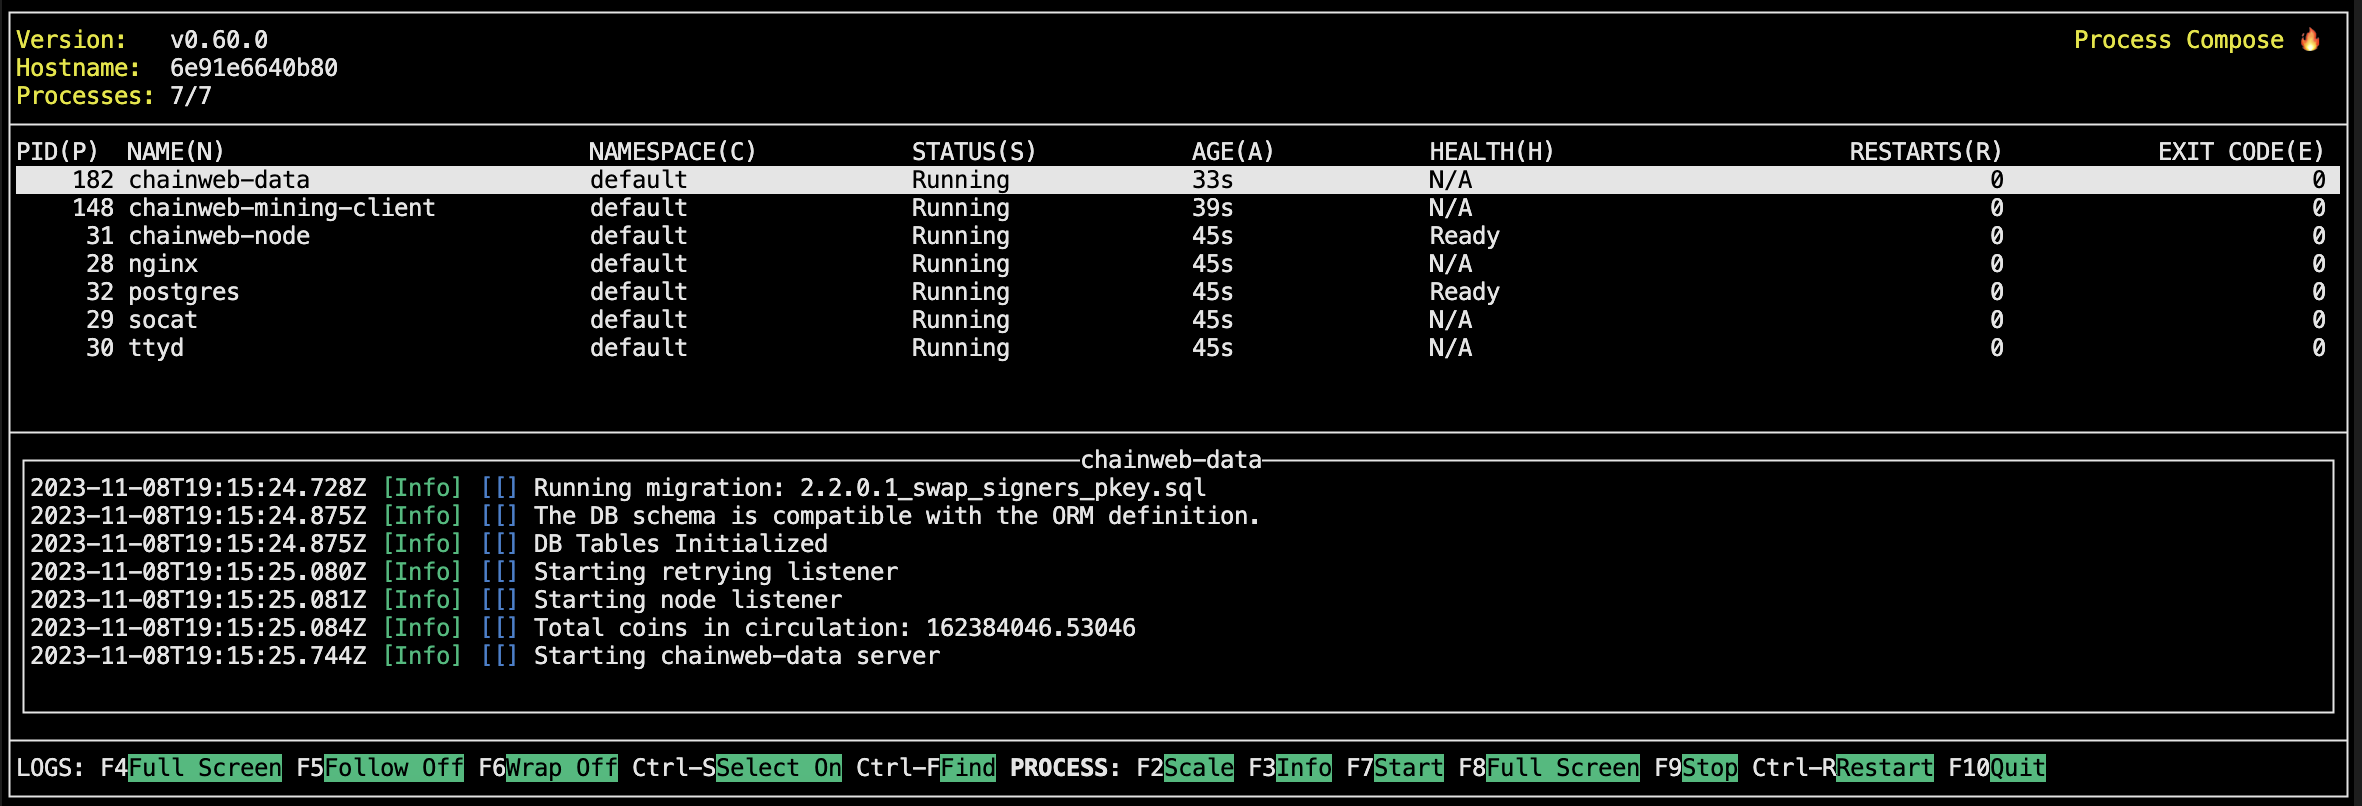
docker start devnetAfter you start the development network, you'll see information about the network processes displayed in a terminal console.
-
Open Kadena Devnet to see more information about the configuration of the local development network and how to access other tools.
You can stop the network at any time—and reset the blockchain state—by pressing Ctrl-c in the terminal.
Start-up options
You can customize the operation of the development network using different command-line settings. For example, if you don't want to create a persistent volume, you can start the network by running the following command:
docker run --interactive --tty --publish 8080:8080 kadena/devnet:latest
You can stop the network at any time—and reset the blockchain state—by pressing Ctrl-c in the terminal. After you stop the network, restart it using the previous command or one of the commands that follow.
If you want to automatically remove the container when you stop it, add the --rm command-line option.
For example:
docker run --rm --interactive --tty --publish 8080:8080 --volume kadena_devnet:/data --name devnet kadena/devnet
If you encounter an error where the version of Chainweb is invalid after a certain date (typically after a service update), run the following command to pull the latest version:
docker run --pull always --interactive --tty --publish 8080:8080 kadena/devnet:latest
If you can't run the Pact executable on your local computer, you can mount the ./pact folder for the election project in the Docker container by running the following command:
docker run --interactive --tty \
 --publish 8080:8080 \
 --volume ./pact:/pact-cli:ro \
 kadena/devnet:latest
Connect Chainweaver to the development network
By default, the Chainweaver wallet and IDE lets you connect to the Kadena test network and the Kadena main network. However, as you start writing Pact modules, you'll want to test and deploy them on your local development network. Before you can do that, you need to configure Chainweaver to connect to the local host and port number running the development network.
To add the development network to Chainweaver:
-
Open or unlock Chainweaver.
-
Click Settings in the Chainweaver navigation panel.
-
Click Network.
-
Under Edit Networks, type the network name development, then click Create.
-
Expand the development network, then add the localhost as a node for this network by typing 127.0.0.1:8080.
If the local computer is still running the development network Docker container, you should see the dot next to the node turn green.
-
Click Ok to close the network settings.
After you click Ok, you can see development selected as your current network. All actions you perform in Chainweaver are now executed on the local development network.
Install a standalone node
If you want full control over node operations, you might want to install and manage chainweb-node as a standalone local node for development or as a node participating in the Kadena test or production public network.
There are several options for setting up a Chainweb node in a physical or virtual environment. For example, you can install and run node binaries:
- Directly on a physical Linux or macOS computer.
- On an Linux or macOS instance with infrastructure from a cloud services provider.
- From a Linux image in a Docker container.
You can also build the binaries directly from the source code.
Minimum system requirements
Before installing Chainweb, you should verify that your computer meets the following minimum recommended hardware requirements for running a node:
- CPU: Minimum of two (2) CPU cores.
- RAM: Minimum of four (4) GB of RAM.
- Storage: Minimum 250 GB using a solid state drive (SSD) or fast hard disk drive (HDD).
- Network: Publicly-accessible IP address.
- Operating system: Linux AMD64 architecture.
If you also plan to use the node for mining, to submit transactions, or to query blockchain data, you should verify that your computer meets the following minimum recommended hardware requirements:
- Four (4) CPU cores.
- Eight (8) GB of RAM.
Operating system architecture
Most chainweb-node software runs on Linux with AMD64 architectures.
If you want to run a Chainweb node on Linux or macOS with ARM64 architecture, you'll need to build the binaries yourself from the source code.
You might experience some unexpected behavior when running a node on ARM64 architecture.
Note that you should not configure mining for nodes on ARM64 architecture.
Running a mining node on ARM64 architecture could cause your node to fork from the network.
If you want to run a Chainweb node on Microsoft Windows, you should note that this isn't a supported configuration and requires you to install the latest Windows Services for Linux (WSL) software.
If you choose to proceed after installing WSL, you can install the chainweb-node software in the WSL virtual environment rather than using the native Windows operating system.
Incoming and outgoing network rules
In addition to a publicly-accessible IP address, nodes must be able to communicate with peers and accept incoming messages from other computers in the network. If your computer is behind a firewall or is a virtual guest connecting to the internet through a host computer, you should review your network configuration and open required ports to allow inbound and outbound traffic. For example, you might need to configure port forwarding for port 1789 on your router or host computer to allow inbound connections from remote nodes.
Install from release binaries
You can download compressed archive files with chainweb-node release binaries for Ubuntu Linux directly from the Releases page in the chainweb-node repository.
If you have Ubuntu 20.04 or Ubuntu 22.04 on a physical or virtual machine, downloading the binary is the most straightforward installation path.
To install from a release archive:
-
Open a terminal shell on the physical or virtual host with the Ubuntu Linux operating system.
-
Update the system with the latest software by running the following command:
sudo apt update && sudo apt upgrade -
Install the required packages by running the following command:
sudo apt-get install ca-certificates libgmp10 libssl3 libsnappy1v5 zlib1g liblz4-1 libbz2-1.0 libgflags2.2 zstdIf your computer uses the Ubuntu 20.04 operating system, install the
libssl1.1package instead of thelibssl3package. -
Download the archive file from the Releases page.
Note that the archive file naming convention includes the
chainweb-nodeversion, compiler version, Ubuntu version, and a commit hash identifier using the following format:chainweb-<version>.ghc-<version>.ubuntu-<version>.<revision>.tar.gzFor example, the
chainweb-nodearchive file for Ubuntu 22.04 looks like this:chainweb-2.26.1.ghc-9.6.5.ubuntu-22.04.89b0ac3.tar.gz -
Change to the directory that contains the downloaded file—typically, the Downloads folder—or move the file to a new location.
-
Unzip and extract the compressed archive by running a command similar to the following:
tar -xvzf chainweb-2.26.1.ghc-9.6.5.ubuntu-22.04.89b0ac3.tar.gz -
Verify the binary is ready to use and review command-line configuration options by running the following command:
./chainweb-node --helpYou should see usage information about the configuration settings you can specify as command-line options similar to the following truncated output:
Usage: chainweb-node [--info] [--long-info] [-v|--version] [--license]
                     [-?|-h|--help]
                     [--print-config-as full|minimal|diff | --print-config]
                     [--config-file FILE]
From the usage information, you can see that there are a large number of configuration options that you can use to control and operation and behavior of the Chainweb node. Before you start the node, you should review the configuration options and the default values to determine whether you want to make any changes to the configuration of the node.
-
Extract the default configuration settings to create a configuration file for the node by running the following command:
./chainweb-node --print-config > default-config.yamlIf you want to modify any of the default settings or add features that are disabled by default, you can:
- Edit settings in one or more configuration files.
- Use corresponding command-line options to control node operations.
-
Start the node from the release binary by running a command similar to the following:
./chainweb-node